Realtek Audio Console is a more complex version of Realtek HD Audio Manager, with more functionality. This tool allows you to configure a variety of audio devices, such as headphones, microphones, and speakers.
It’s also known as Realtek Audio Control, and it offers an interface for altering sound settings and adding audio effects.
Most current PCs already have it installed, but if not, or if you need to reinstall it, you can get Realtek Audio Console for Windows 10/11 PCs and laptops.
We will begin with the simplest method, which is through the Microsoft Store. Simply log into the store and start downloading.
Then attempt to find the download link for the Realtek Audio Control on the manufacturer’s website. It is usually found on the motherboard or laptop’s company website.
After that, we can proceed with alternative manual methods to get the Realtek Audio Control.
What Is The Realtek Audio Control?
Realtek Audio Control is a software application designed for sound card users. It is intended to provide you with control over numerous audio capabilities and settings on Realtek’s audio hardware.
The application is often pre-installed on systems using Realtek audio chips. You can also download it from the manufacturer’s website or the Microsoft Store if you’re using Windows 10 or later.
What Is Realtek HD Audio Manager?
Realtek HD Audio Manager (Realtek High Definition Audio Manager) is a Windows application that allows you to control sound playback.
It serves as the control panel for your audio adapters. When you add new microphones, speakers, or headsets to your computer, it will immediately recognize them and allow you to configure them.
Wondering where to find Realtek HD Audio Manager and where to download it for your Windows 10/11 computer?
Check Whether Your Computer Has Realtek HD Audio Manager. In Windows 10/11, Realtek HD Audio Manager is installed alongside the Realtek HD audio driver.
Normally, the Windows 10/11 operating system installs the Real HD audio driver automatically, and you can find the Realtek HD Audio Manager in the Control Panel; however, if you can’t locate it, follow the instructions below to get Realtek HD Audio Manager for Windows 10/11 PC.
To check if Realtek HD Audio Manager is installed on your computer, enter Windows + R, type control panel, and press Enter on Windows 10/11.
Next, type realtek in the Control Panel search box and select Realtek HD Audio Manager from the list to launch Realtek HD Audio Manager on your Windows 10/11 machine.
You can also access it by clicking Hardware and Sound and then Realtek HD Audio Manager.
However, if Realtek HD Audio Manager is absent on Windows 10/11 and cannot be found in Control Panel, you can download it to your Windows PC.
How to Download Realtek HD Audio Manager for Windows 10/11
Step 1: Download from Realtek Website
Realtek HD Audio Manager is available for download on the company’s official website. You can access the Realtek HD Audio Manager download website and get the appropriate driver for your Windows 10/11 machine.
Click the Download icon to get the Realtek HD Audio Driver for your PC. You can download the Realtek HD Audio driver for Windows 10 64-bit or 32-bit, depending on your requirements.
After downloading, run the exe file and follow the instructions to install the Realtek HD Audio Driver.
Realtek HD Audio Manager will be installed alongside the Realtek HD Audio driver. After installing the driver, the Realtek HD Audio Manager application is also installed.
Step 2: Reinstall Realtek Audio Driver
On Windows 10, you may access Device Manager by pressing Windows + X and selecting it.
Expand the Sound, Video, and Game Controllers category in Device Manager, then right-click Realtek High Definition Audio.
Then select Update Driver to update the out-of-date Realtek Audio driver.
Alternatively, you can click Uninstall Device to remove the Realtek High Definition Audio device from your computer.
Restart your computer, and the Realtek HD Audio driver and Realtek HD Audio Manager will be downloaded and installed automatically; otherwise, use Way 1 to manually download and reinstall Realtek HD Audio Manager on Windows 10.
How to Download Realtek Audio Control on Windows 10/11
Realtek Audio Control can be downloaded using different methods. It comes preinstalled on newer PCs, but you may download it in the following ways:
Download Realtek Audio Control from Microsoft Store
Realtek Audio Control is available as Realtek Audio Control on the Microsoft Store. However, when you look for it in the Microsoft Store, you will not find it.
You must first visit it in your browser and then install it using the steps outlined below.
- Visit the Realtek Audio Console Download page in the Microsoft Store.
- Click Get in Store to begin the installation procedure.
- Then you will receive a popup prompting you to select Open in the Microsoft Store.
- Now, in the Microsoft Store’s pop-up window, click Install.
- The Realtek Audio Console will be downloaded and installed within a few seconds. Then click Open to start the terminal.
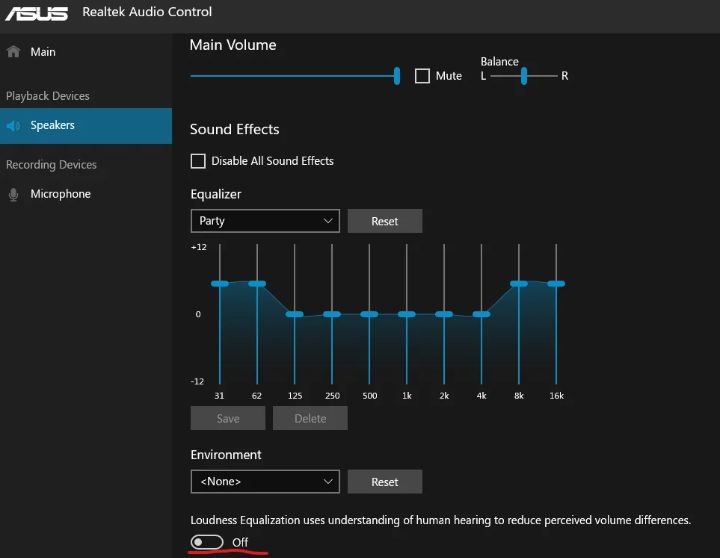
- You’ll arrive at the Realtek Audio Console, which will display your motherboard’s emblem at the top.
You can alter the audio and microphone settings here.
Download Realtek Audio Control from the Manufacturer
If the Microsoft Store isn’t functioning for you, don’t worry. We have an alternative option for downloading Realtek audio Control.
Your computer’s manufacturer (motherboard) supplies programs and drivers for all of its components.
If you’re using a desktop or don’t know the model number of your laptop, we’ll start by looking for the motherboard.
- To open the run prompt, use Ctrl + R, then type msinfo32 and click Enter.
Note: If you know the model number, you can skip the first two stages and proceed to the third.
- Locate the BaseBoard Product and write down the model number here.
- Go to Google and search for B550M PRO-VDH WIFI Drivers, then visit the official website to obtain Realtek Audio Console for Windows 11 and 10.
Note: Here, replace B550M PRO-VDH WIFI with your model number.
How to Update Realtek Audio Control via Device Manager
You can also use Windows’ device manager to update the drivers and download the Realtek Audio console simultaneously.
Here’s how to let Windows do it for you:
- Press Ctrl + R to open the run prompt, then type devmgmt.msc and press Enter to launch the device manager.
- Look for Realtek (r) audio or High Definition Audio under Sound, Video, and Game Controllers.
- Now, right-click Realtek Audio and pick the Update Driver option.
- Select “Search automatically for drivers,” and it will look for new components or drivers.
- If the latest drivers are installed alongside Realtek Audio Console, you will receive a notice that the best drivers for your system have already been loaded.
Otherwise, Windows will download and install the latest drivers for you.
How to Install the Realtek Audio Console on Windows 10 or 11
So, if you have a Realtek Audio console, but audio is not arriving, this will help you solve it. This approach works particularly effectively for machines older than four years.
To resolve the audio issue, download and install Realtek audio codecs in the way shown below.
- Navigate to the Realtek Audio Codecs Downloads area.
- Choose the 32-bit or 64-bit version and click the download button.
- Tick the I accept box above and then click Download this file to download the codec disk.
Then you can install it on your computer to resolve the audio issue with the Realtek audio console.
How to Download Realtek Audio Console via Windows Update
Windows updates include a variety of key features, including drivers for various hardware components.
You can perform the Realtek Audio Console Windows 11 download process through the update already installed.
Here’s how to use the Windows update for the Realtek audio console.
- Navigate to Windows Update from the Start menu by typing update or Windows Update.
- In the Windows Update section, click Check Updates and wait for the system to search for the most recent updates.
If you have an audio drive available, you can use it to download Realtek Audio Control.
Frequently Asked Questions
What’s the difference between Realtek Audio Console and Realtek HD Audio Manager?
The HD Audio Manager is an older, standalone application with a conventional look that is sometimes encountered on older Windows systems.
In comparison, the Realtek Audio Console is a newer, more modern UWP (Universal Windows Platform) program developed primarily for Windows 10 and later, that is available through the Microsoft Store.
While both provide identical essential functionalities, the Audio control is more simplified.
It offered an integrated experience with recent Windows versions, but the HD Audio Manager offers a more traditional user interface.
How Do I Launch Realtek Audio Console?
If you’ve downloaded and installed Realtek Audio Console but can’t find it, try this.
To open the explorer, press the keyboard shortcut X + E. Then, paste the address into the address bar and hit Enter.
C:\Program Files\RealTek\Audio\HDA
If Windows is installed in a partition with a different letter assigned, use C as the drive letter.
How Do I Fix Realtek Audio Console Won’t Open?
If the Realtek Audio Console does not open, try updating the audio drivers from the Realtek or computer manufacturer’s website, then restart your computer.
If it doesn’t work, uninstall Realtek Audio Console from Windows Settings and reinstall it from the Microsoft Store or Realtek’s website.
Conclusion
Realtek Audio Control for Windows 11 and 10 is easiest to download from the Microsoft Store.
For some unknown reason, you cannot search for it; instead, go directly to the URL. However, you can install it on your PC and take advantage of its advanced audio capabilities.
For those who are experiencing problems with their audio console installation, the official Realtek website is a great resource.